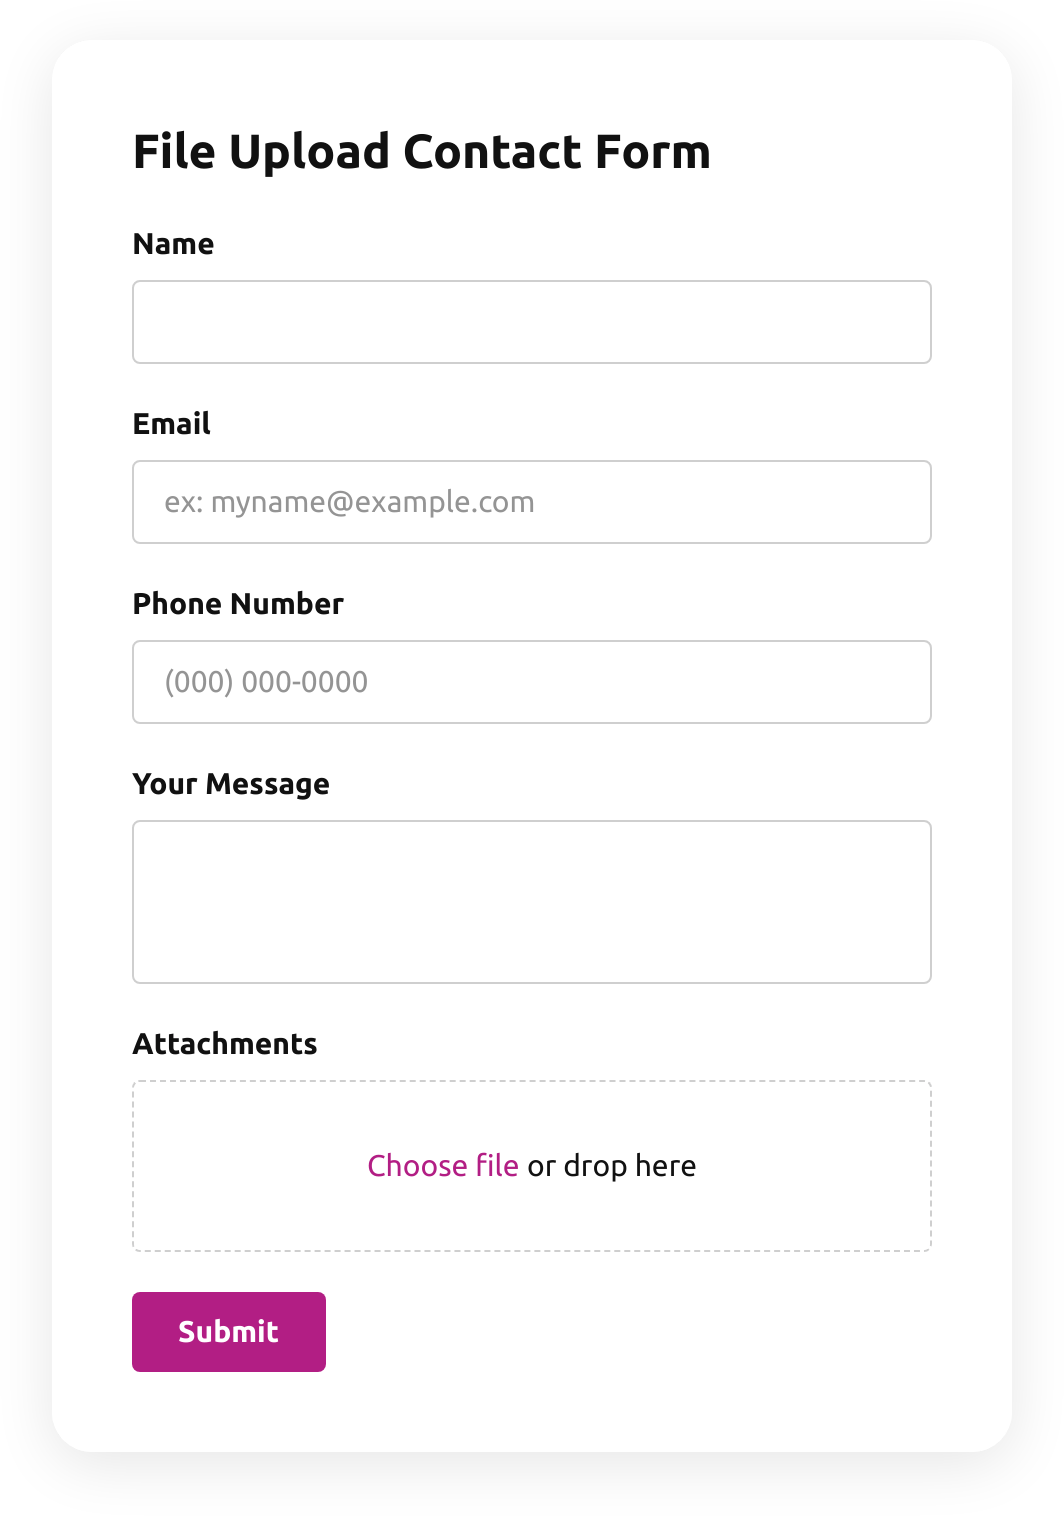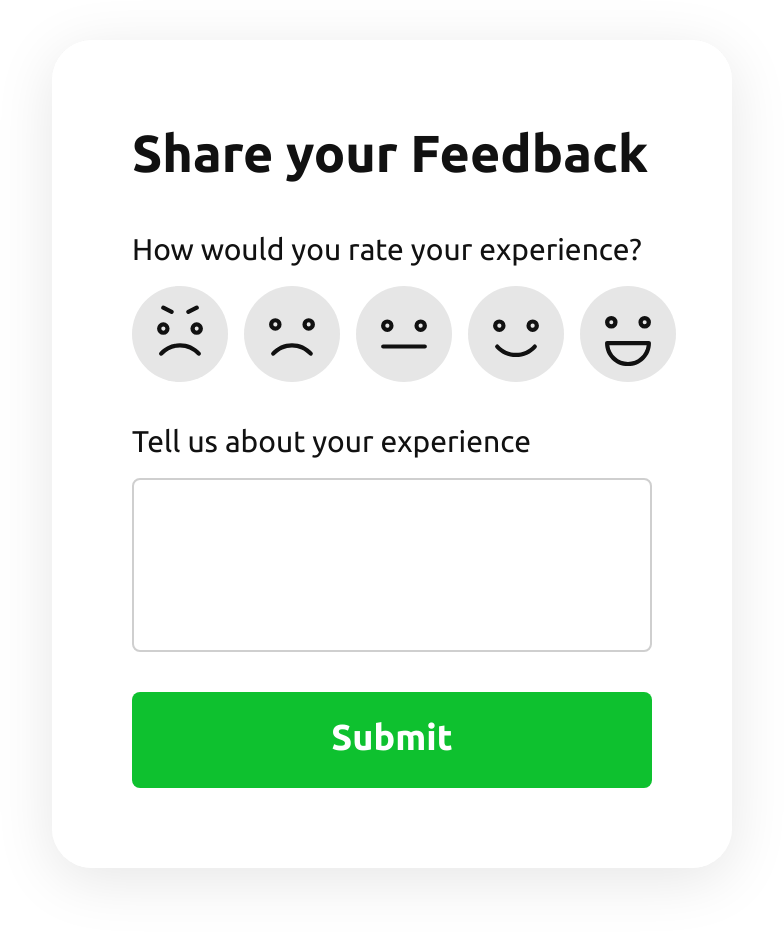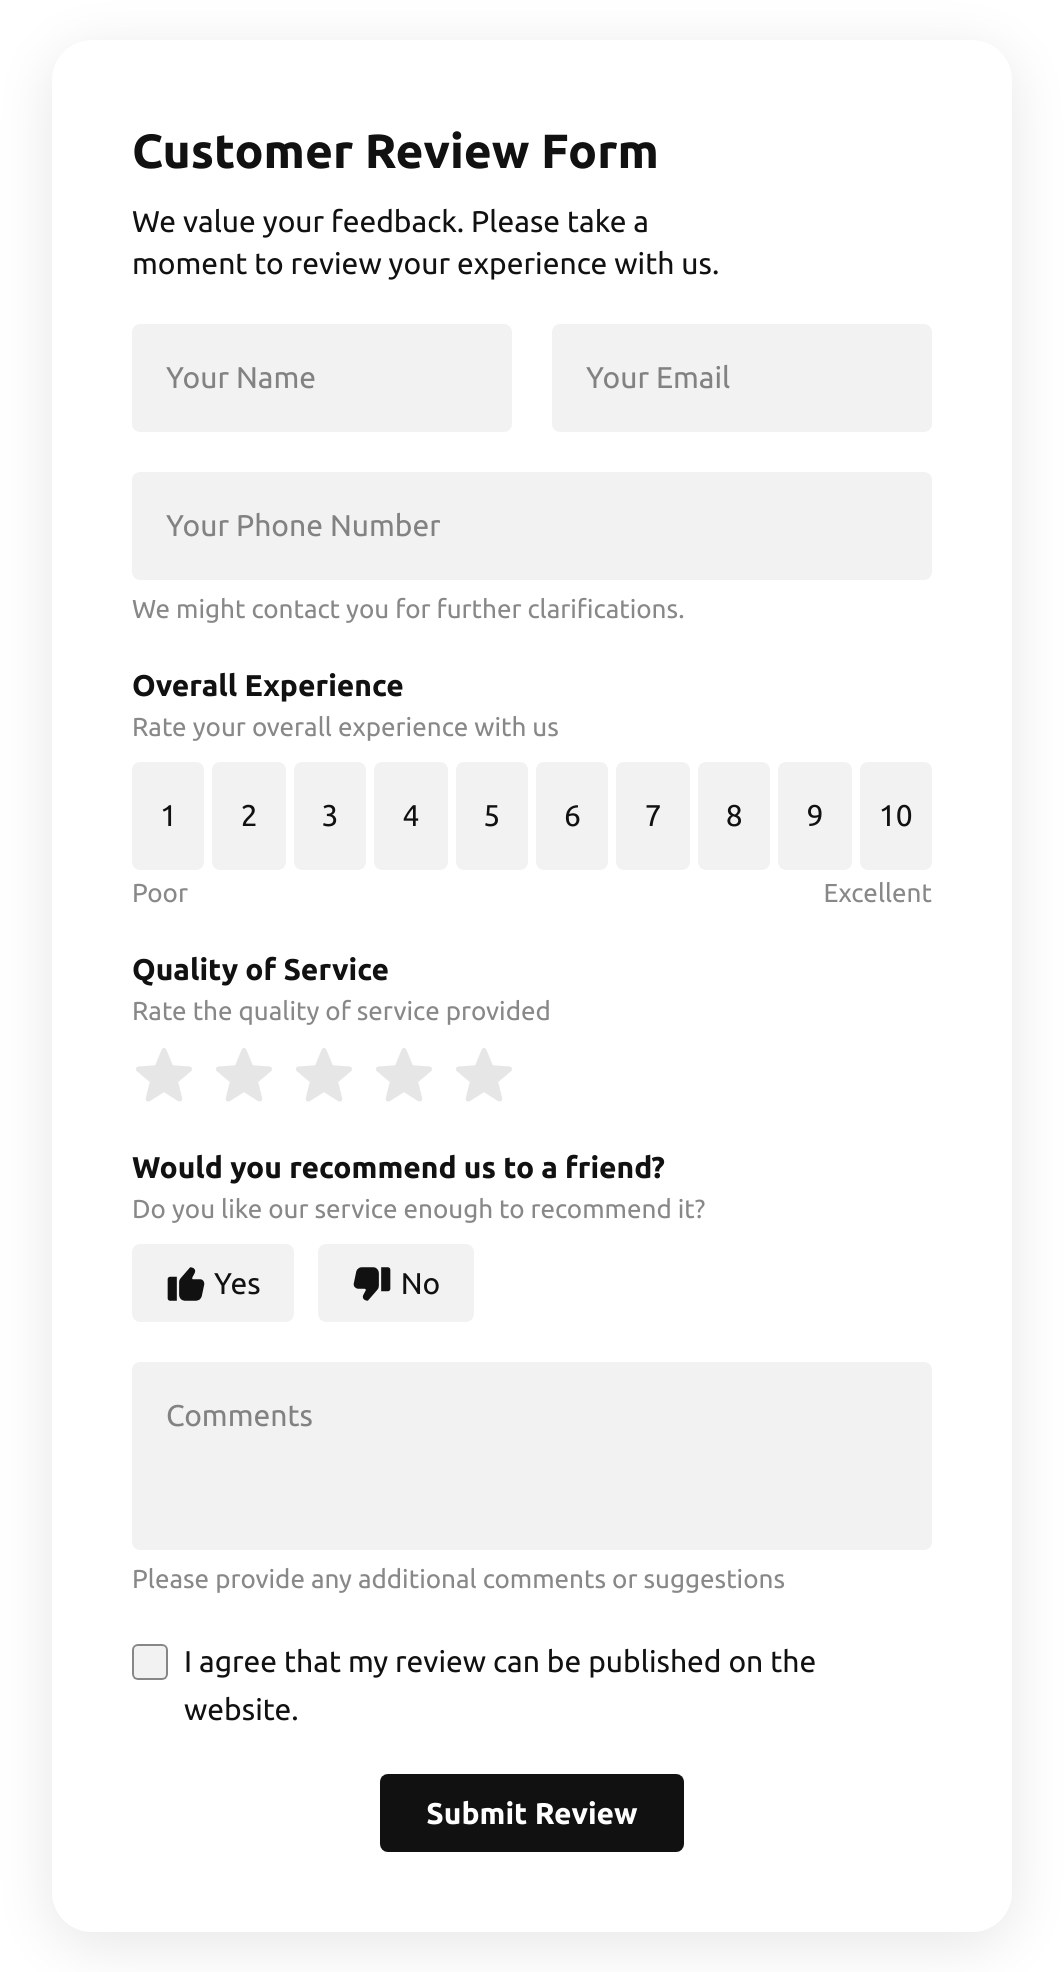











Screenshots
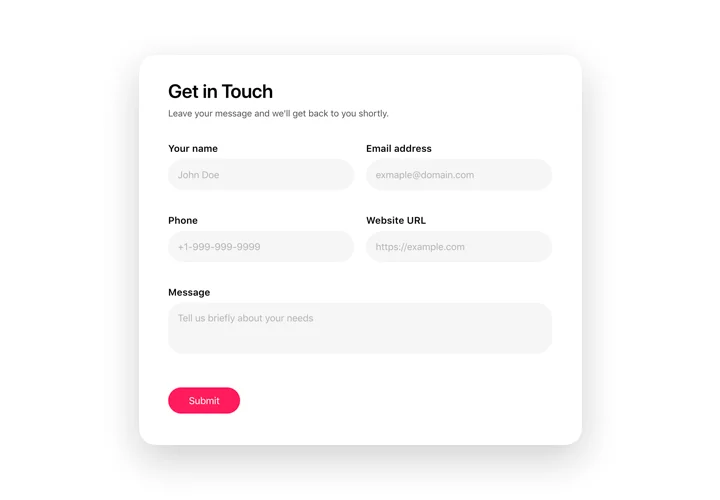
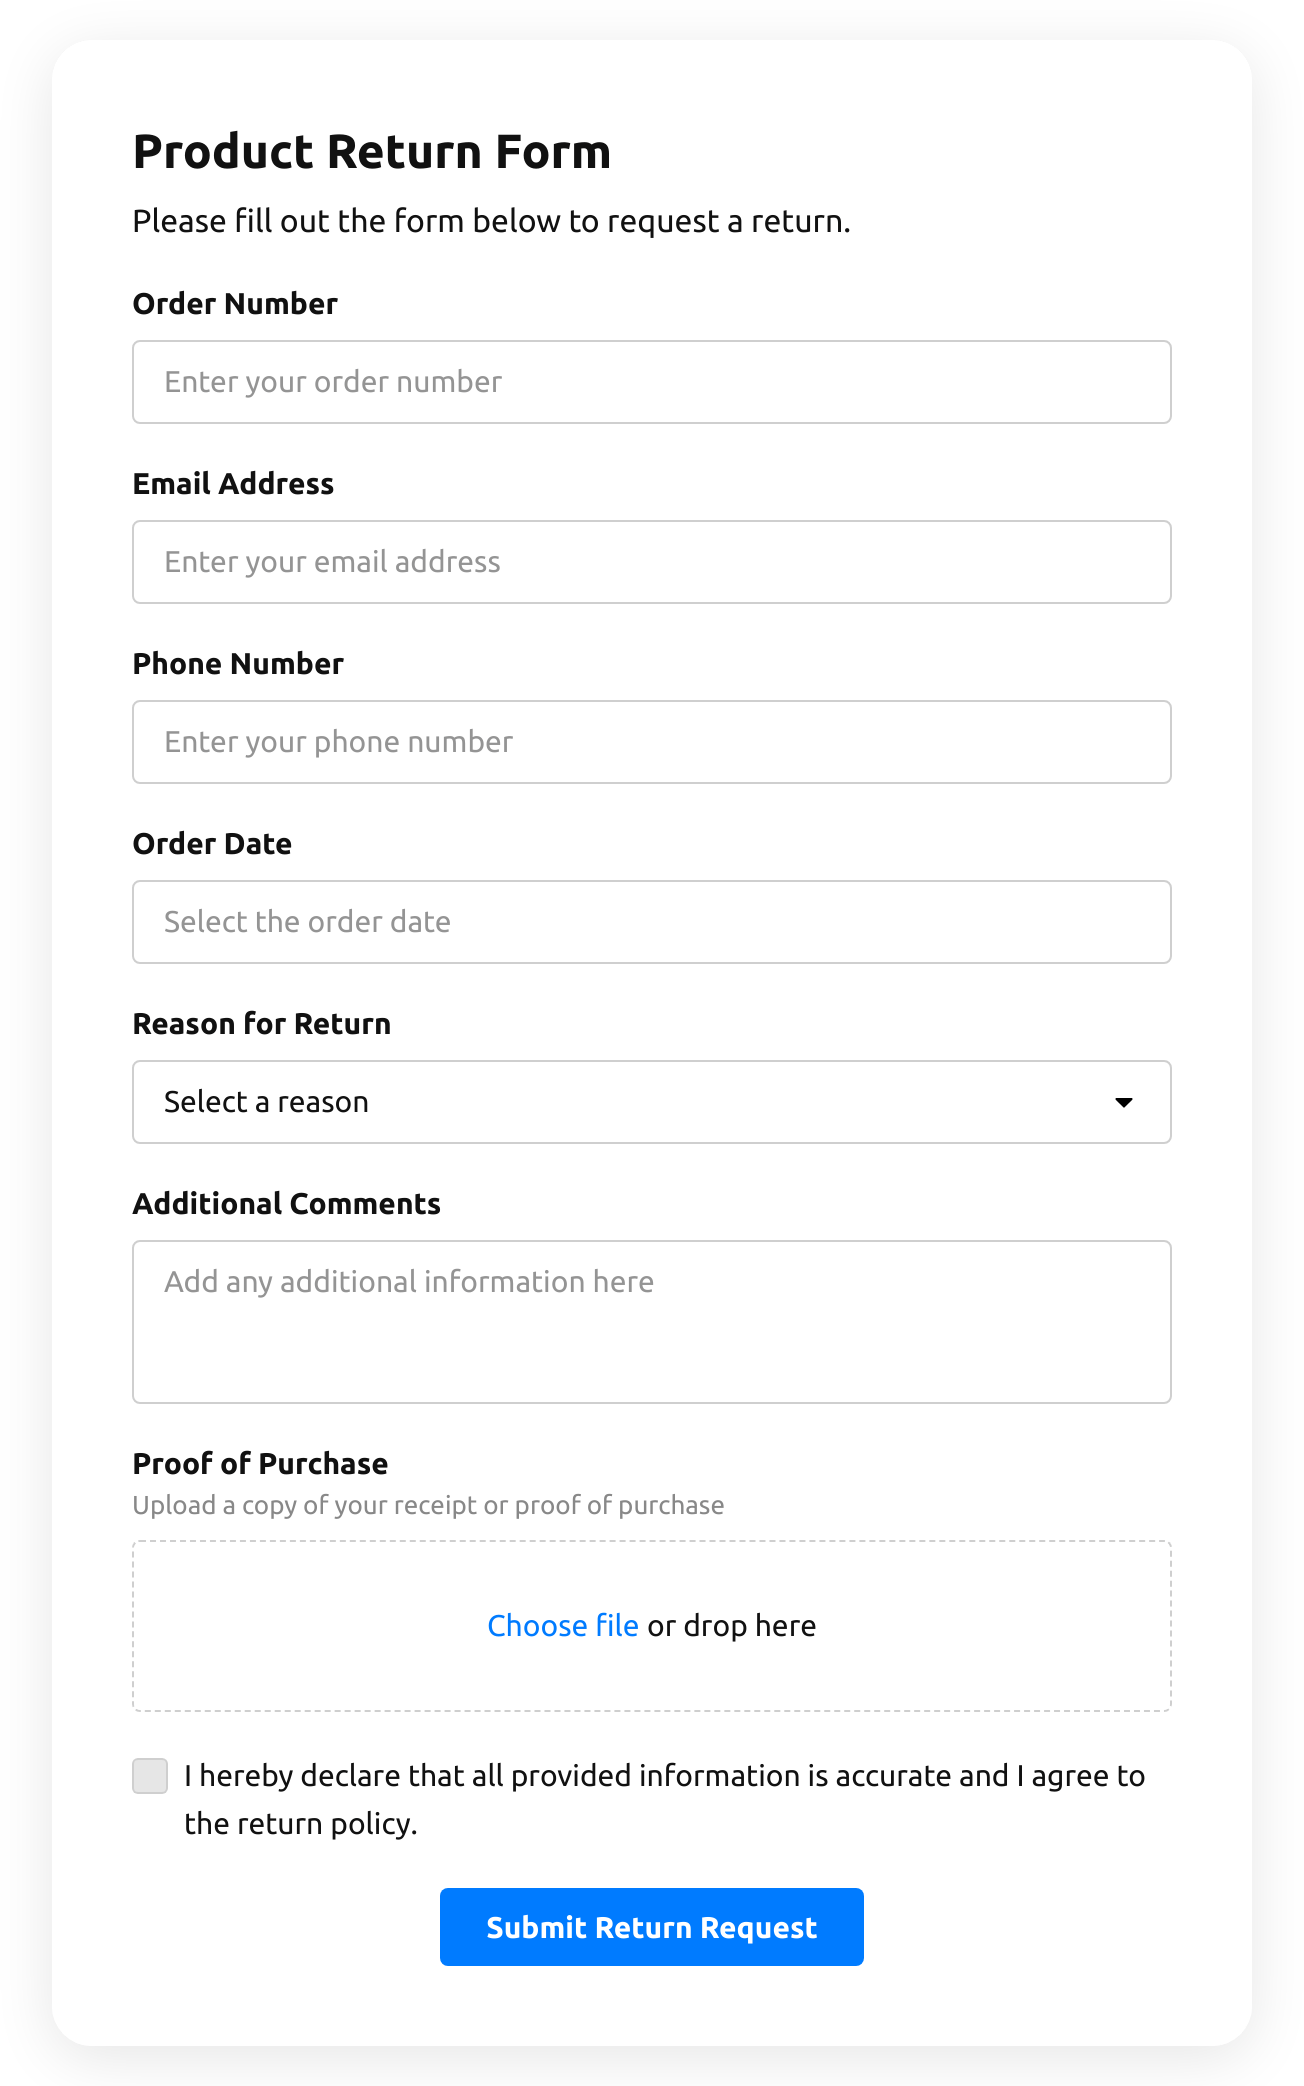
Create an inviting contact form with rounded style and compact fields grouping 
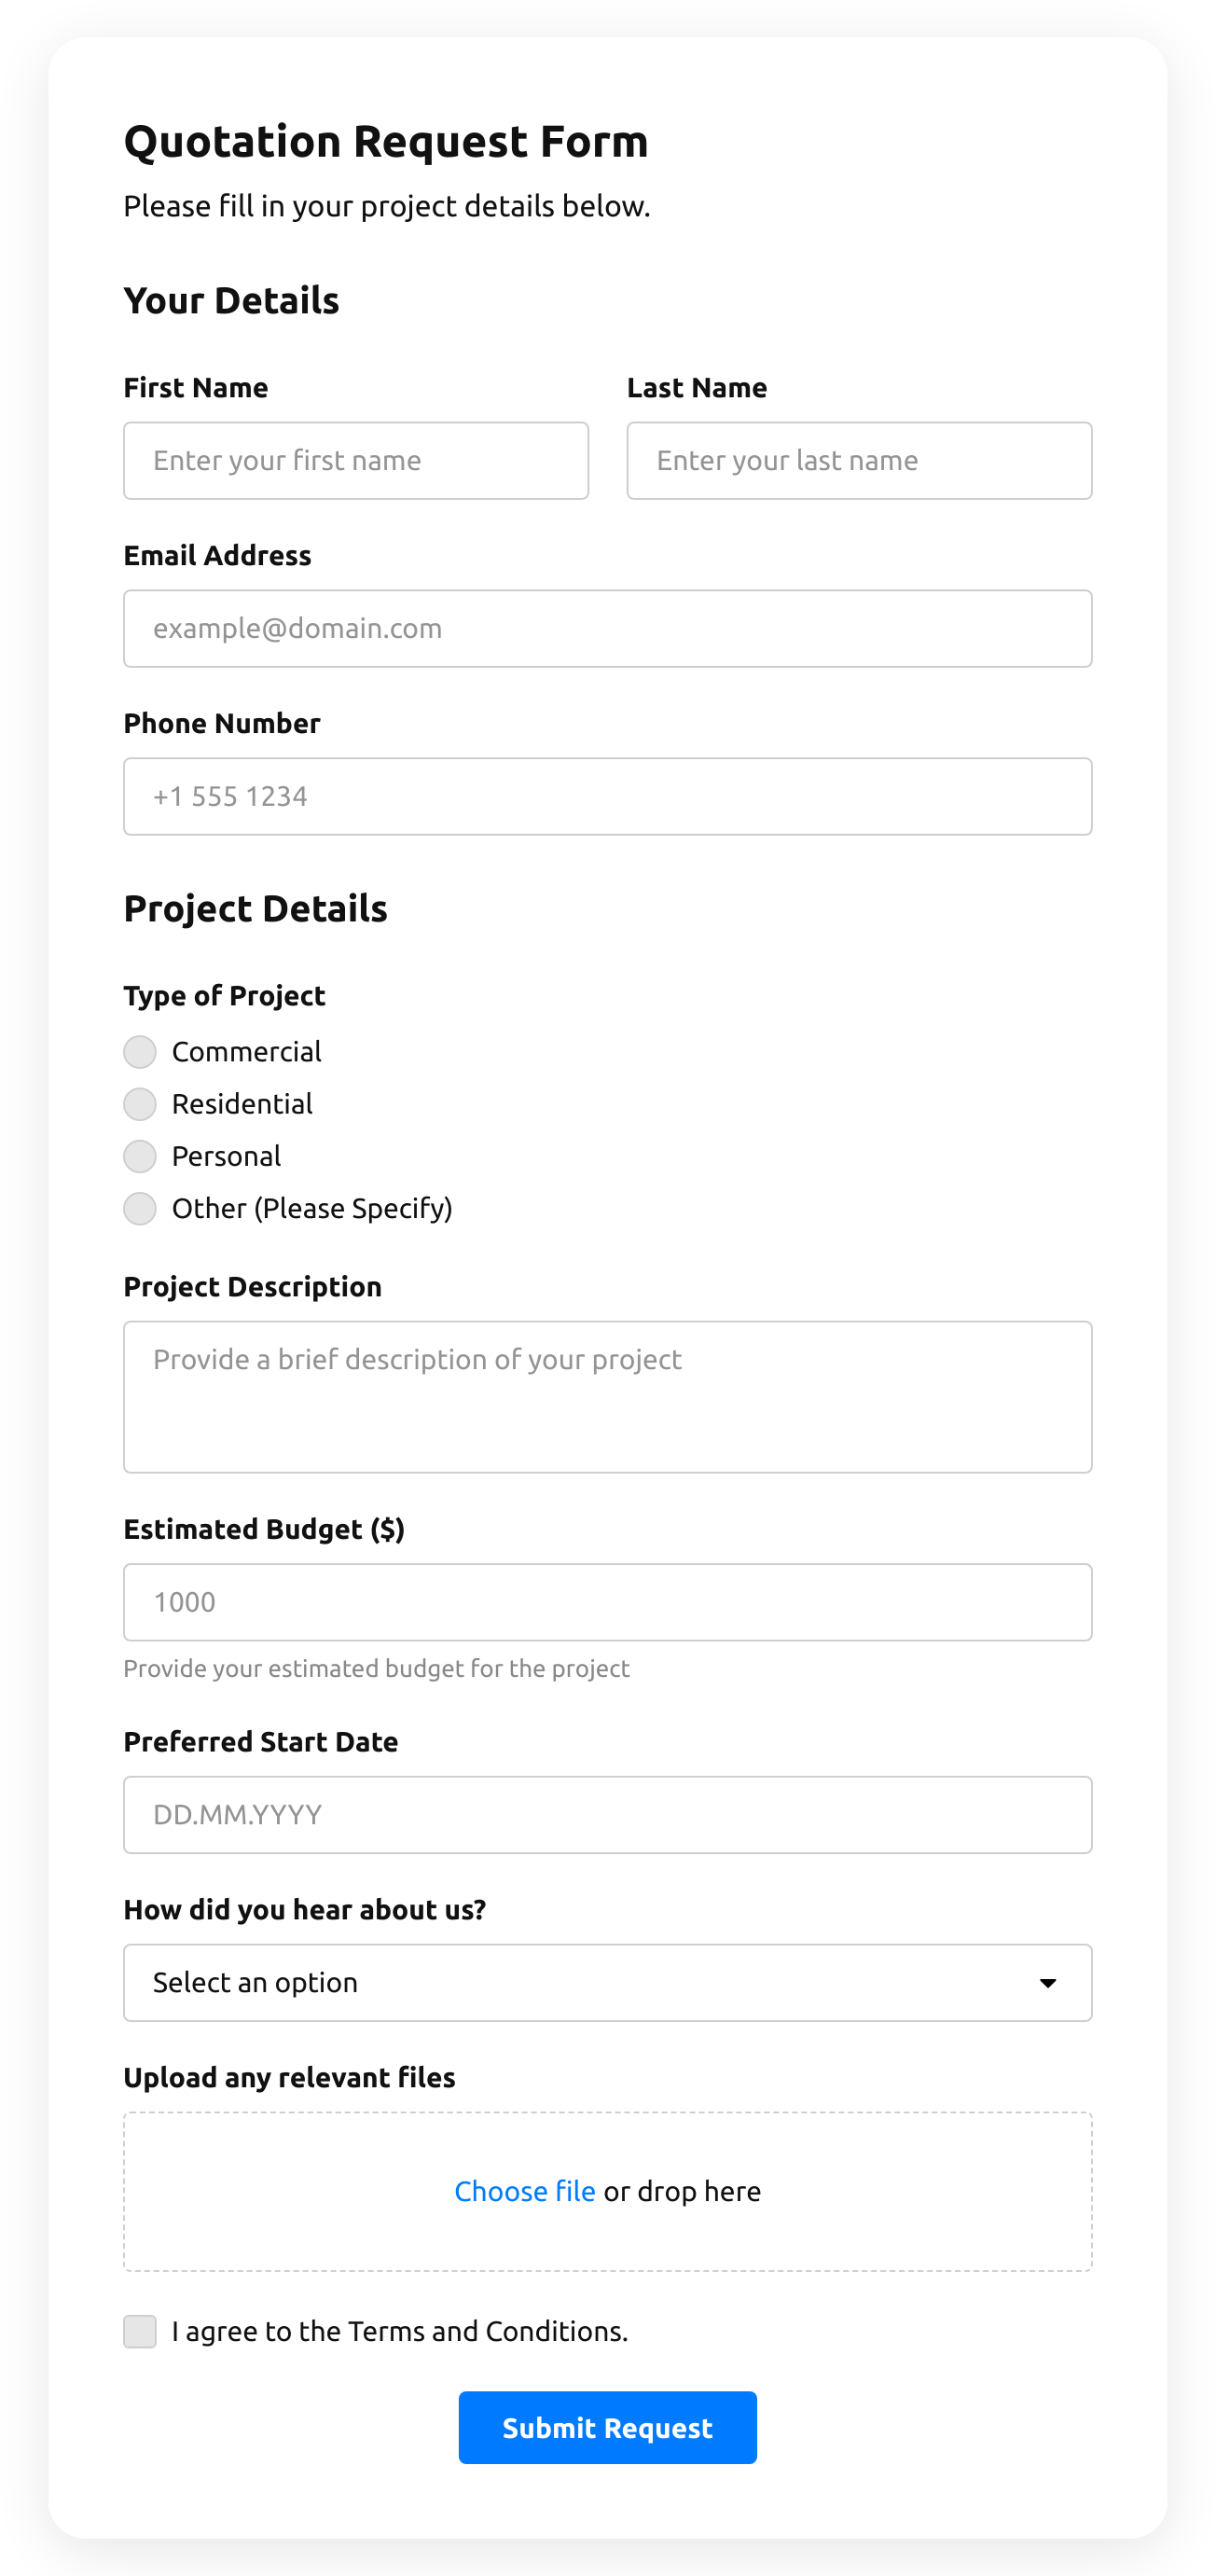
Make use of more than 20 diverse input elements and break them into manageable steps 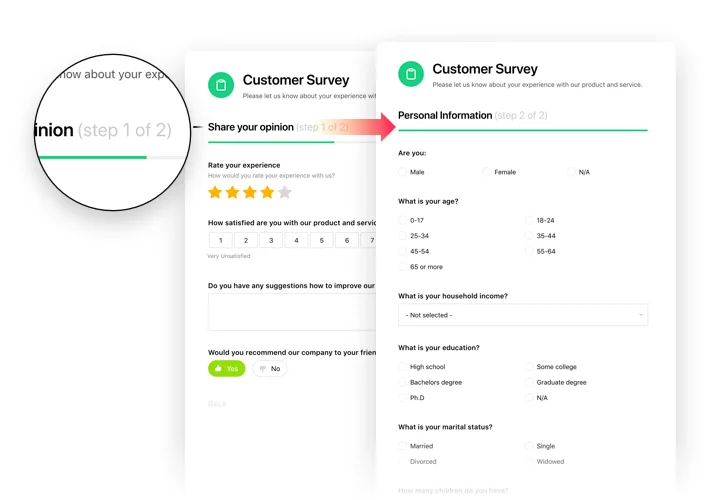
Add ratings and scales with comments fields to shape surveys and collect feedback 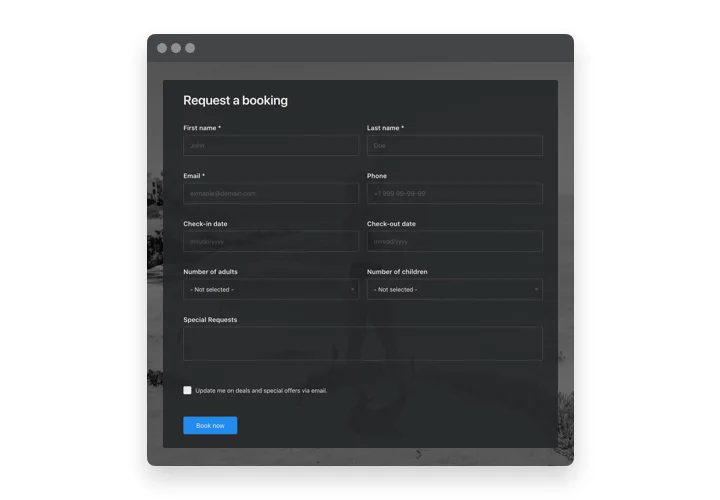
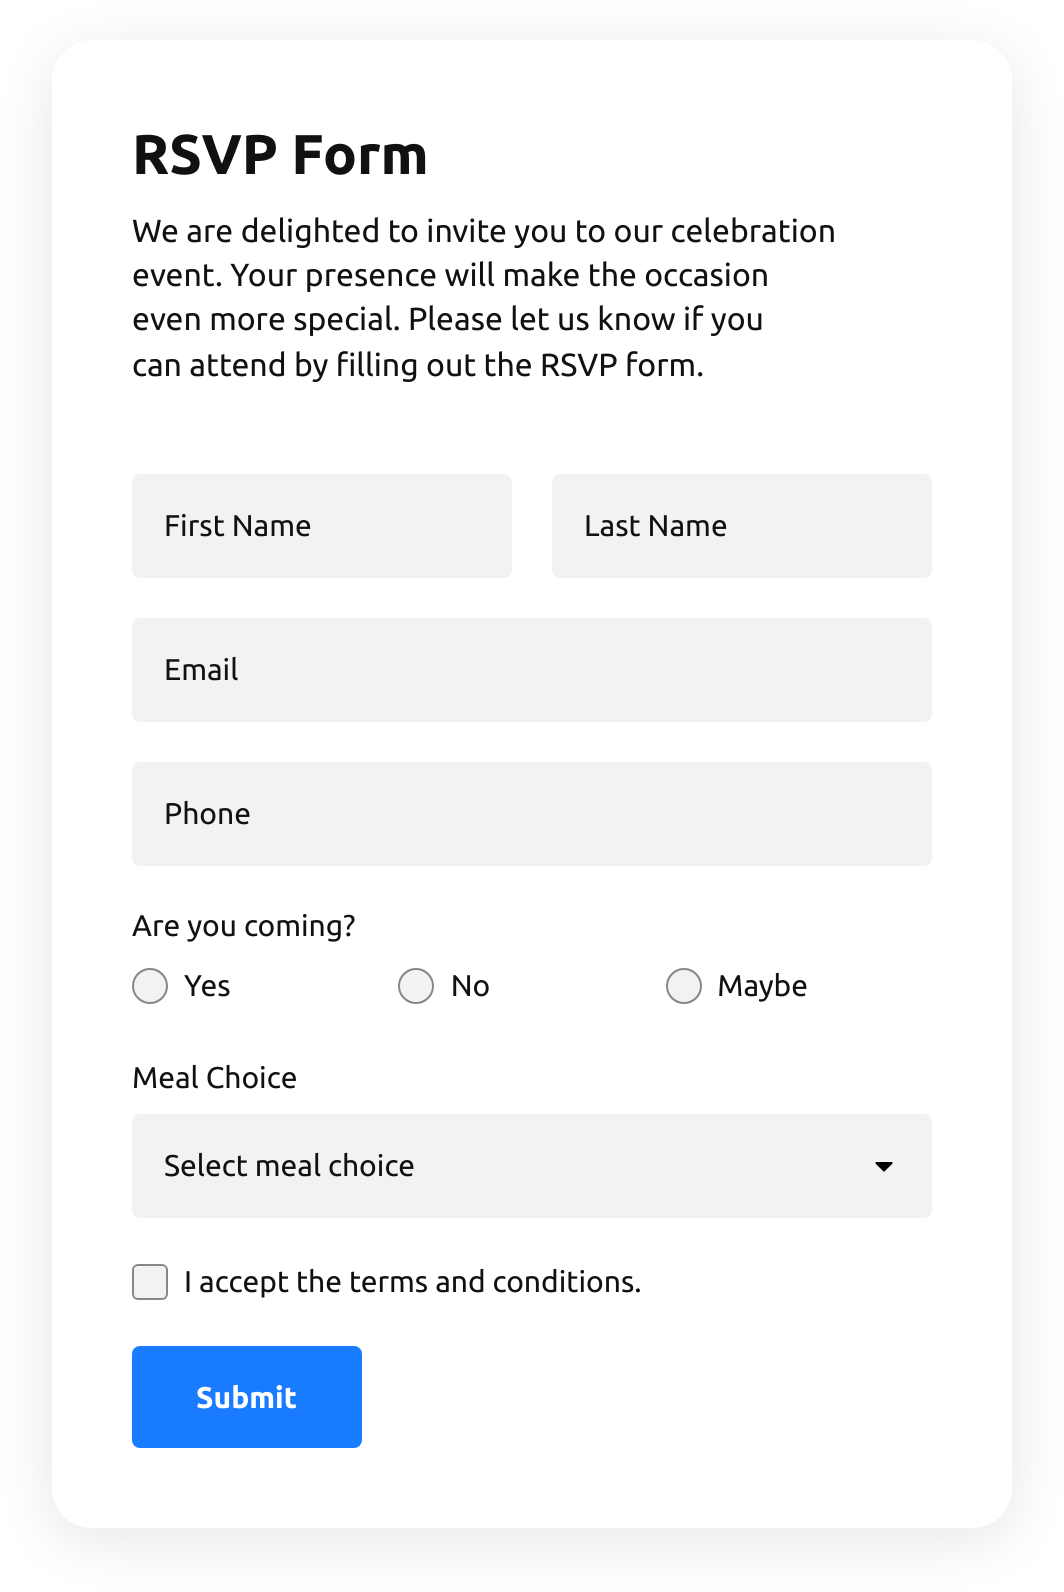
Arrange drop-down fields with placeholders and embedded calendars for easy and fast filling in 
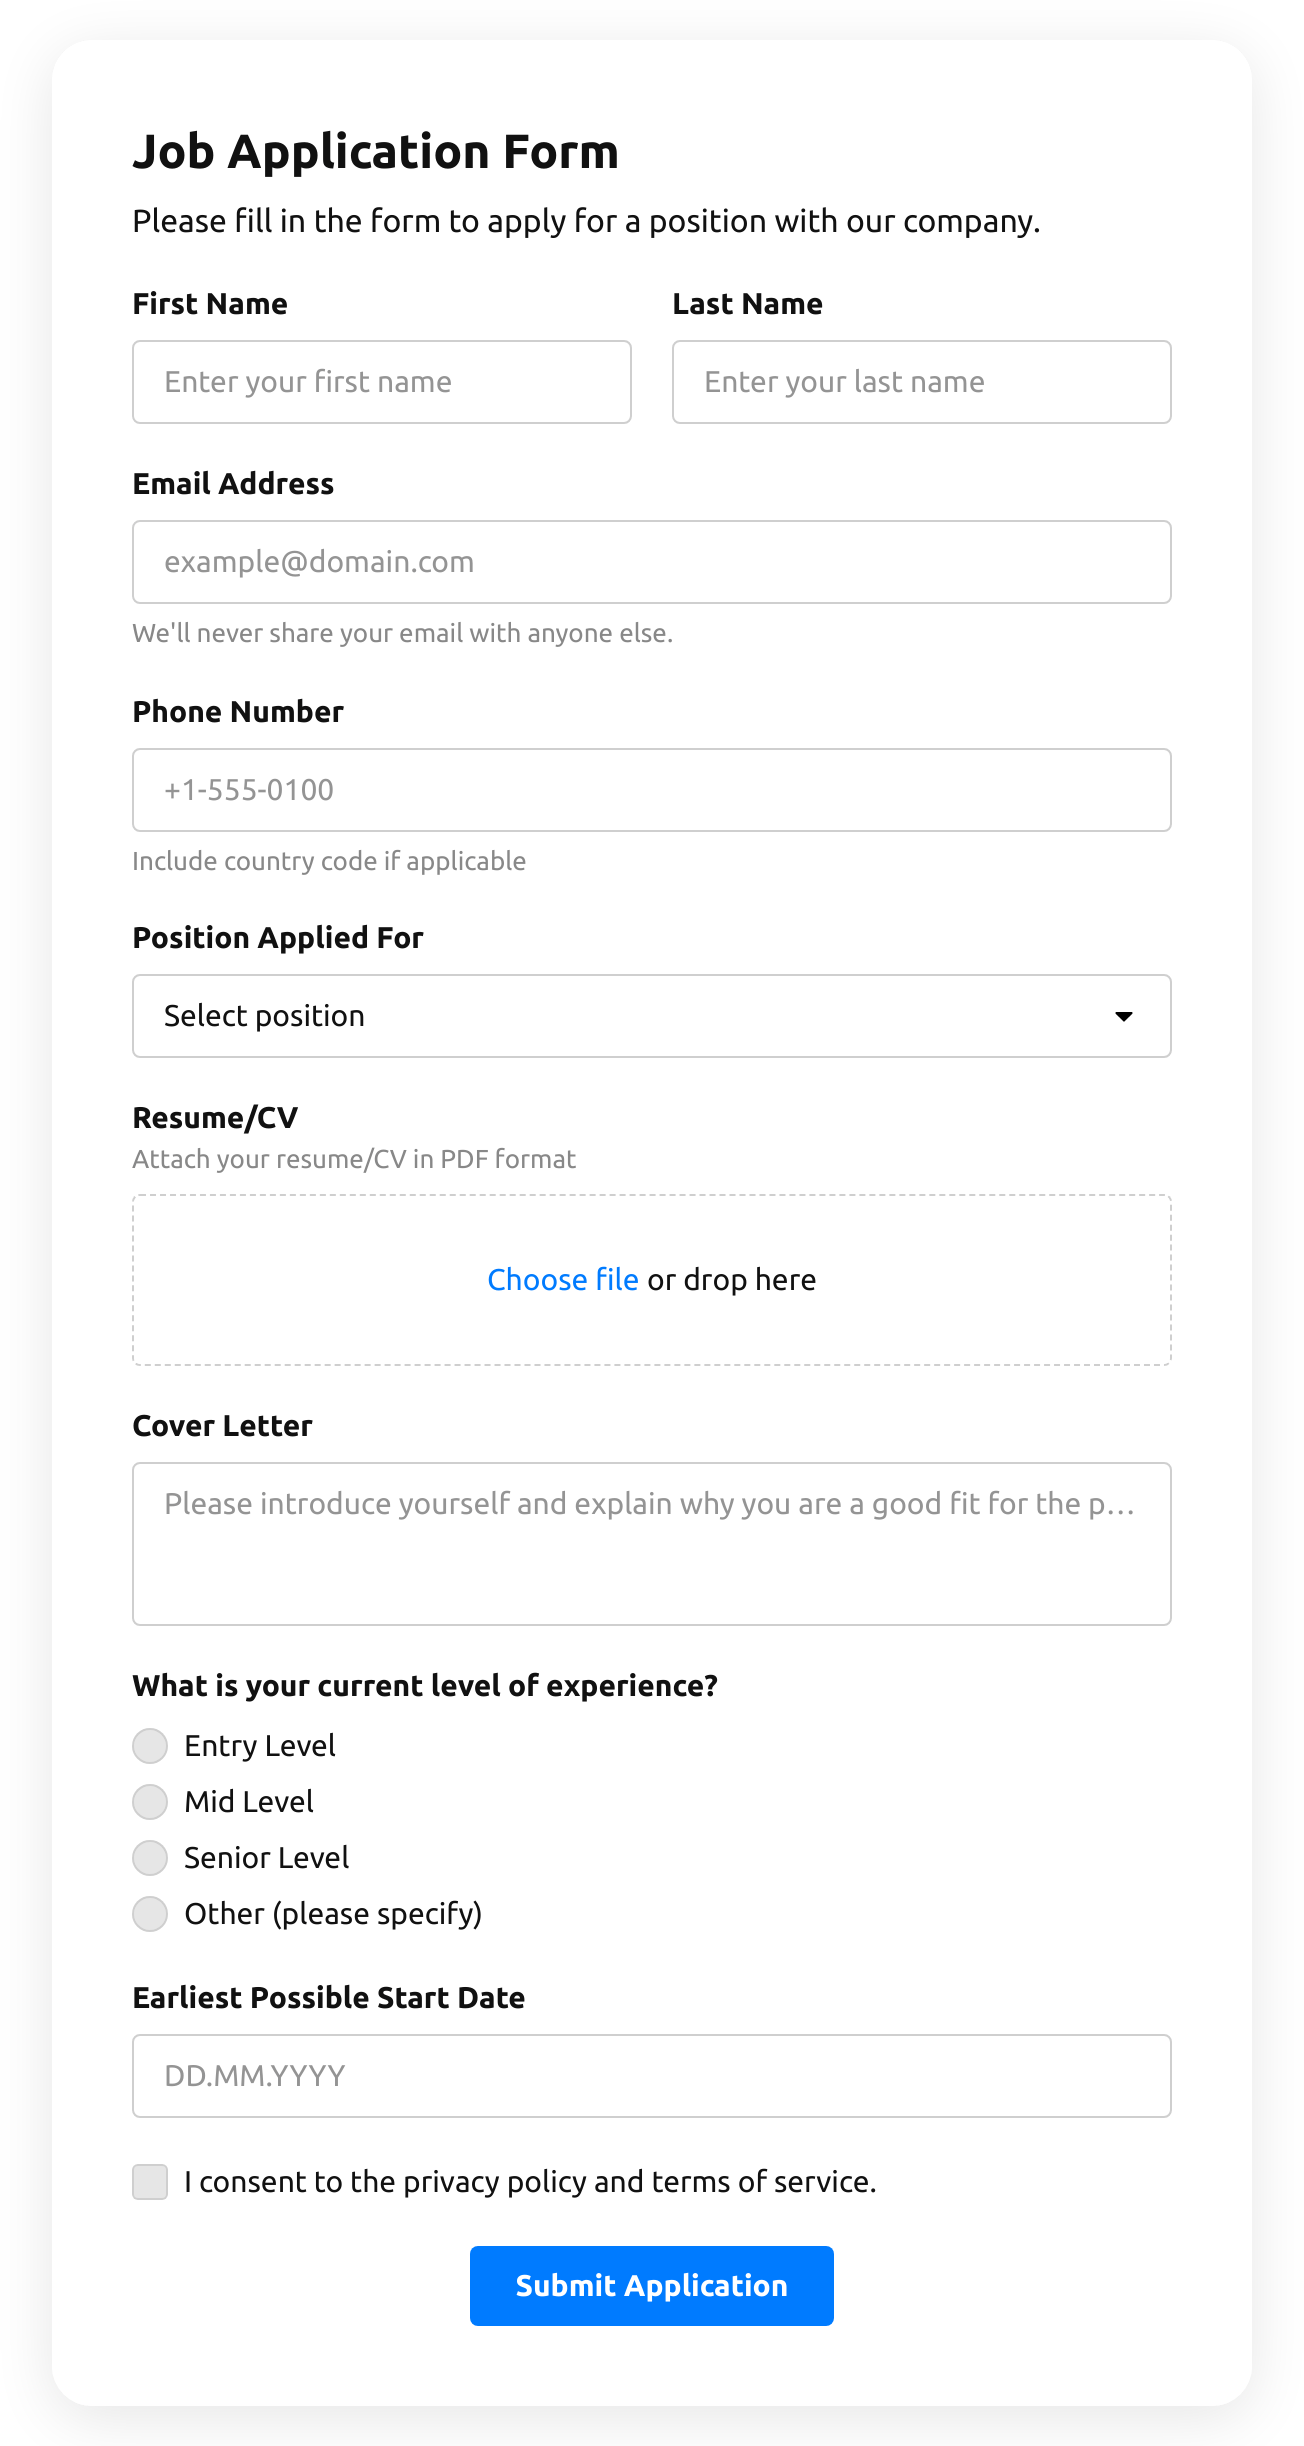
Enjoy a flexible interface with styles and custom colors to fit into any website concept 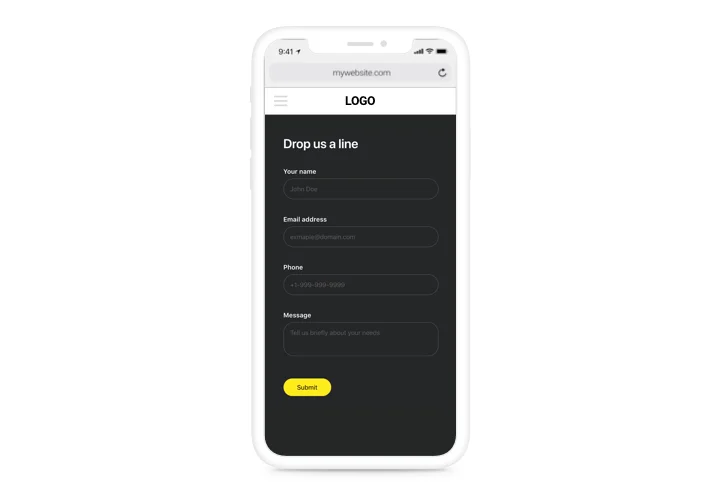
Allow your users smooth experience from any device
Built to match the mockup
Webflow projects are designed down to the pixel, so a form that looks borrowed stands out for the wrong reasons. Set the form’s fonts, accent color, background and corner radius to match the page, and use custom CSS for anything else.
Looks are only half of it: the widget also splits long intake questionnaires into short screens, charges for orders and passes each entry to the person who follows up.
Running several client projects? One Elfsight account manages the forms for all of them, whichever platform each website is built on.
Questionnaires that feel short
Turn a long client intake form into a multi-step flow, and add conditional logic so a visitor who chooses Brand identity never sees the questions meant for web design clients. Each screen asks only what matters at that point.
Fees collected upfront
Clients pay for a consultation, a spot in a course or an order deposit as part of the request, through the Stripe account you link.
Drafted by AI
Describe the form you need – a photography booking with session type, date and location, for example – and the AI Form Generator sets up the fields, ready for you to restyle.
Every lead, routed
Every new lead can notify up to three teammates (plus CC and BCC), drop into a Google Sheets row or a Mailchimp audience, or reach your CRM via Zapier, Make or webhooks.
Key features
Multi-step layout with conditional logic – a long brief becomes a sequence of short screens, and answers decide which questions come next.
Payments through Stripe – bill for sessions, retainers or event tickets in the same form that collects the brief.
AI Form Generator – a one-line description becomes a form you can restyle right away.
Lead routing – responses land in your Elfsight dashboard and reach the apps your team already works in, from spreadsheets to your CRM.
24 field types – rating scales (stars, numbers, thumbs, smileys), image choices, addresses and hidden fields among them.
Invisible CAPTCHA – switched on from the start, so real visitors never solve a puzzle.
Campaign tracking – prefill fields from URL parameters and keep hidden values, so every lead shows which ad or newsletter sent it.
Made for Webflow
Styled to your design system – fonts, accent color, light or dark scheme, background and corner radius, with custom CSS for anything else.
Ready for components – save the embed as a component and drop the same form onto any page.
Works in CMS Collection templates – place it once, and every Collection item page shows the form.
Edits without republishing – change questions or recipients in Elfsight, and the published form updates on its own.
How to add the Form Builder to Webflow
Once the form looks right in the Elfsight editor, press Add to website for free and copy the embed snippet it gives you. Then choose where it should live: one page, every page, a reusable component or a CMS Collection template.
Good to know: Webflow runs custom code only on a paid plan for the website or a paid Workspace plan, so the free Starter plan won’t load the form. Decide on the Layout tab whether the form sits in the page or floats beside it before you grab the snippet. Inside the Designer you’ll only see a placeholder; the real form appears in Preview once custom code is enabled, and on the published website.
Method 1: Place it on one specific page via Code Embed
Launch the Designer for your project with the Open in Webflow button.
Pick the target page in the Pages panel.
Click the + icon, find Code Embed and drag it to the spot where the form belongs.
Drop the Elfsight snippet into the Code Embed editor window and hit Save & Close.
Hit Publish and confirm with Publish to Selected Domains.
Method 2: Head Code across the whole project
In the dashboard, click the three dots next to your project and choose Settings.
Go to the Custom Code tab of the sidebar.
Place the snippet in the Head Code field and press Save.
Publish to Selected Domains once more.
This route is meant for the Floating Pane layout; for an in-page form repeated on all pages, our support team can install it at no cost.
Method 3: Turn the embed into a reusable component
Begin with the Code Embed you set up in Method 1.
Right-click the Code Embed and choose Create component.
Drag the component from the Components panel onto any other page.
Publish the project to the selected domains.
Method 4: Every item of a CMS Collection
In the Pages panel, open CMS Collection pages and select the Collection template.
Drop a Code Embed into the template and fill it with the Elfsight snippet.
Save & Close the embed and publish once more.
After publishing, open the webflow.io staging address or your custom domain, submit a trial request and confirm it appears in your Elfsight dashboard. If you’d rather not handle the code yourself, our support team installs the widget for free on request.