
Shopify Twitter Feed integration app
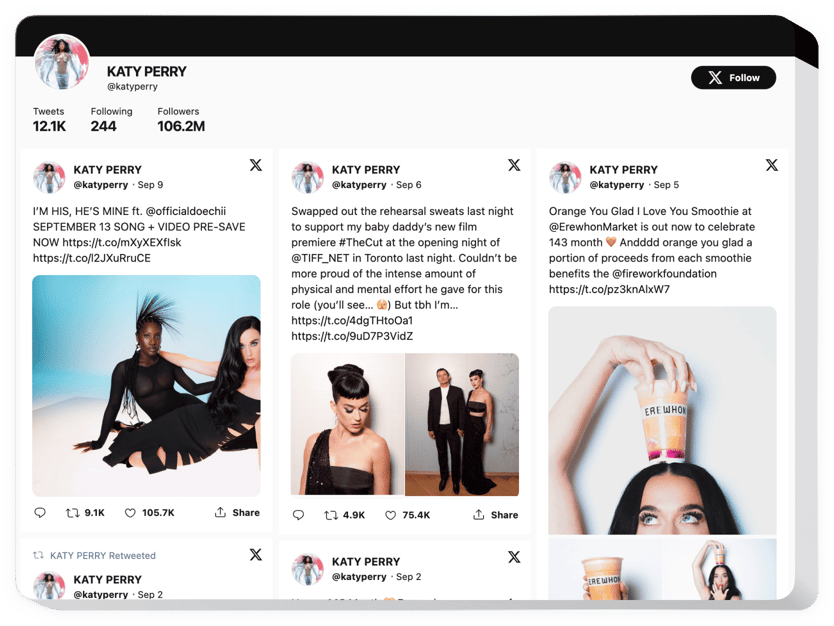
Create your Twitter Feed app
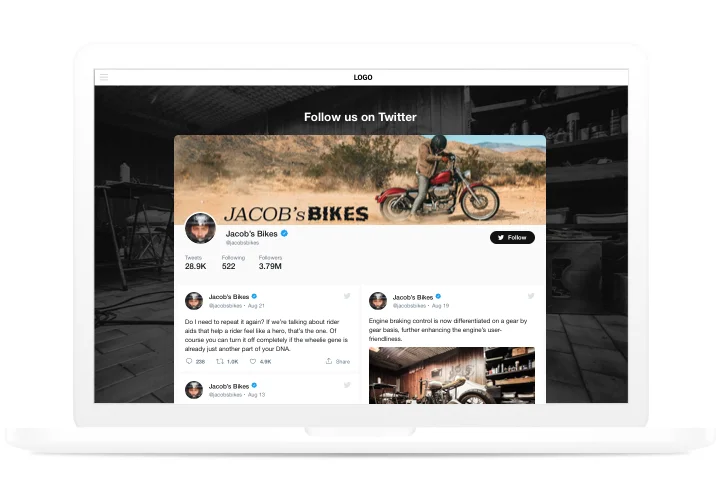
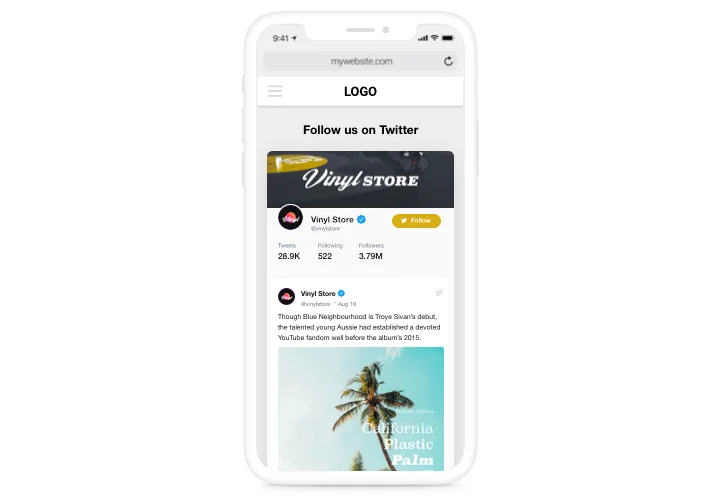
Screenshots




Why show an X feed in your Shopify store
Shoppers like to see what is happening around a brand right now. A feed from X brings your latest tweets into your store, so visitors follow your news without leaving the page.
Choose what to show: tweets from your profile, mentions or a hashtag. The feed refreshes about every 48 hours, so your store stays current without manual copying.
Key Features of the Shopify Twitter Feed
Show the tweets that matter to your store and keep the feed looking like part of it:
- Feed types – show tweets from a profile, mentions or hashtags.
- Hashtag and keyword filters – focus the feed on the topics and brand mentions you want visitors to see.
- Hand-picked tweets – add specific tweets by URL or exclude individual ones.
- Custom styling – change colors and fonts to match your store.
- Follow button – add it to the feed header so visitors can follow you from your store.
- Responsive layout – the feed adapts to every device, from desktop to smartphone.
- Automatic updates – the feed refreshes about every 48 hours.
Try all features in the live editor.
Made for Shopify
- No theme code editing – in Online Store 2.0 themes, add a Custom Liquid section in the theme editor and paste the code.
- Add it once per template – a section added to a template shows the feed on every page that uses this template.
- Show it on all pages – paste the code before the closing body tag in theme.liquid.
- Not tied to one store – the cloud widget works on any number of domains and has a Free plan with no time limit.
- Update without re-saving the theme – changes you make in Elfsight appear in your store automatically.
How to Add the Twitter Feed to Shopify
Set up the feed in the Elfsight editor first, then click “Add to website for free” to get your installation code. Choose the method that fits your theme and the place where the feed should appear.
Good to know: edit your published theme – the feed won’t show if you add it to an unpublished one. Make sure your store isn’t in private mode, because a new store is closed to visitors by a password page by default. The Starter plan isn’t suitable: it only offers the Spotlight theme, so a section or code can’t be added.
Method 1: Add the feed to a page or template (Online Store 2.0)
- Copy the installation code from the Elfsight editor.
- In your Shopify admin, go to Sales channels → Online Store → Edit theme.
- Select the page or template in the dropdown at the top.
- Click Add section and select Custom Liquid.
- Paste the code into the Custom Liquid field.
- Click Save. The feed appears on every page that uses this template.
Method 2: Create a section if Custom Liquid is missing
- In Online Store, click “…” → Edit code.
- Right-click the Sections folder, select New File, name it elfsight-widget.liquid and press Enter.
- Paste the section code from the Elfsight Help Center guide and click Save.
- Go back to Edit theme, click Add section and select Elfsight widget.
- Paste the installation code into the Installation code field.
- Click Save.
Method 3: Add the feed to a page in a Vintage theme
- In your Shopify admin, go to Online Store → Themes → Customize.
- Select the page in the dropdown and click Add Section → Custom Content.
- Click Add Block and select Custom HTML.
- Paste the code into the HTML field and click Save.
Method 4: Show the feed on all pages
- Go to Sales channels → Online Store → “…” → Edit code.
- Open Layout → theme.liquid.
- Paste the code before the closing </body> tag.
- Click Save.
Method 5: Add the feed to all product pages
- Go to Sales channels → Online Store → “…” → Edit code.
- Open Sections → main-product.liquid. The file name can differ by theme.
- Paste the code where the feed should appear.
- Click Save.
After saving, open the live page and check that the feed shows up. Need help? Visit our Help Center or contact our Support team.