
Elementor Pricing widget

Create your Pricing Table widget
Screenshots
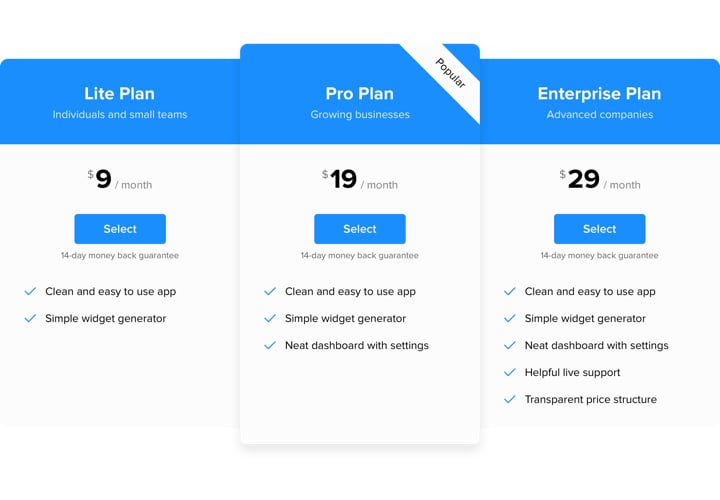
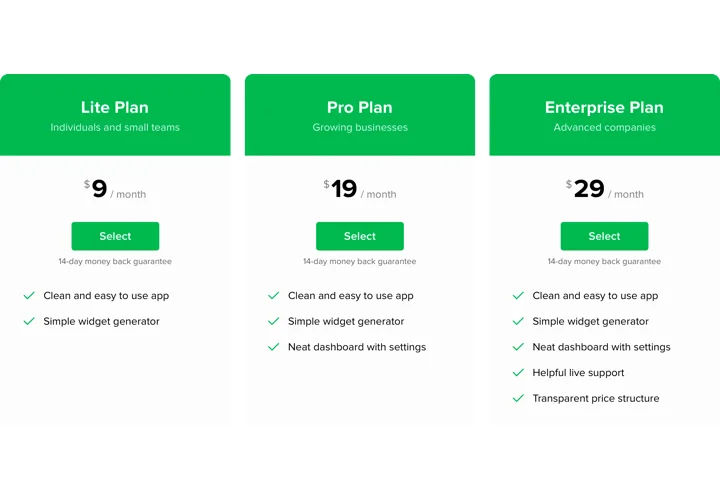
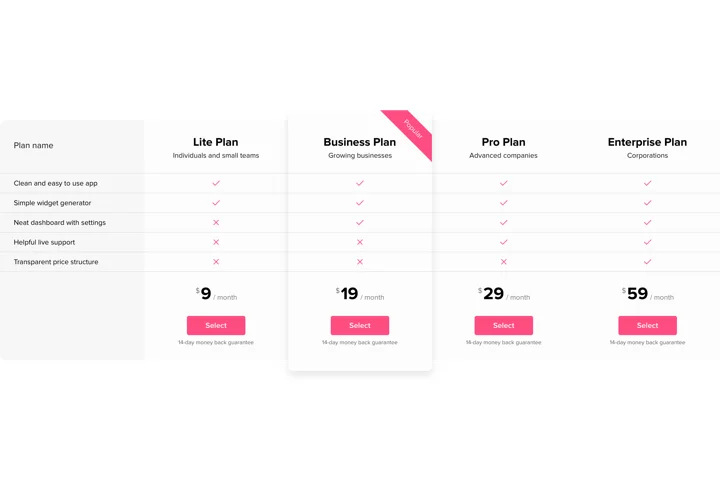
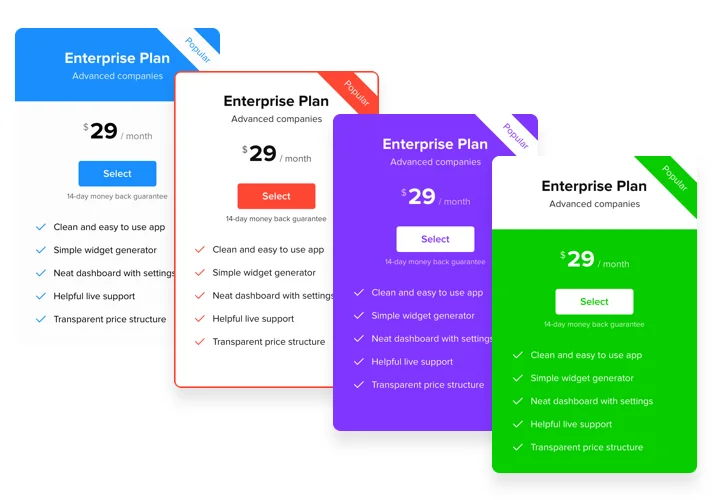


Why use Elfsight Pricing Table on Elementor
Add a pricing table to a free Elementor website with the standard HTML element – Elementor Pro is not required. The table fits any section, column or template, so you place it wherever your plans belong.
Prices or plans change? Edit the table once in Elfsight and the widget updates on all pages and templates where it appears.
Key Features of the Elementor Pricing widget
The Elementor Pricing Table plugin gives you the tools to compare plans clearly:
- Highlighted plan – emphasize a recommended plan with highlight labels and custom styling.
- Crossed-out prices – show the old price next to the new one so discounts are easy to see.
- Monthly and yearly tabs – create separate tables in Multiple Tables Mode and show them as tabs.
- Currency options – display prices in the currency your visitors use.
- Flexible pricing models – set single payments, subscription fees or a custom format.
- VAT and tax notes – add custom captions under prices for VAT, tax or billing details.
- Show or hide elements – turn buttons, images and feature lists on or off per column.
- Customizable column elements – arrange and style the content within each column to get the look you want.
- Detailed features list – add icons, hints and as many features as you need.
- Mobile-friendly layout – the table has a responsive layout for phones.
You can try all the features in our live editor.
Made for Elementor
- Works with free Elementor – the standard HTML element does the job, so you don’t need Elementor Pro.
- Fits any layout – place the table in any section, column or template.
- One edit, every page – change the table in Elfsight and it updates on all pages and templates.
- Check the published page – the widget may not render in the Elementor editor until you publish or preview.
How to Add the Pricing Table to Elementor
Build your table in the Elfsight editor, copy the installation code, then pick the method that matches where you want the table to appear.
Good to know: use the HTML element, not Custom HTML, because the widget may work incorrectly with Custom HTML. The widget may not render in the Elementor editor until you publish or preview the page. If you use a caching plugin, clear the cache after installation.
Method 1: Add the table to one page (Elementor Free)
- In WordPress, go to Pages and click Edit with Elementor for the page you need.
- Find the HTML element in the widgets panel.
- Drag the HTML element into a section.
- Paste the installation code into the HTML Code field.
- Click Publish.
Method 2: Add the table to all pages (Elementor Pro)
- In Elementor Pro, open Custom Code and add a new code snippet.
- Give the snippet a name and paste the installation code.
- Set the display condition to all pages.
- Click Publish.
Custom Code is available only in Elementor Pro.
Method 3: Add the table to all pages (Elementor Free, classic WordPress themes)
- In WordPress, go to Appearance → Customize → Widgets.
- Open a widget area that appears on every page, for example the footer.
- Click + and add a Custom HTML widget.
- Paste the installation code.
- Click Publish.
This method works only with classic WordPress themes.
On WordPress.com, adding external code requires a Business or Commerce plan. After publishing, open the live page to check your table.