
Elementor Photo Gallery widget

Create your Photo Gallery widget
Screenshots
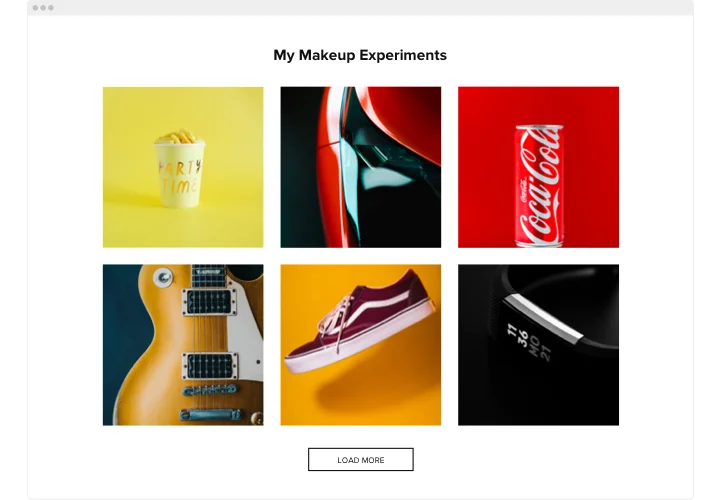
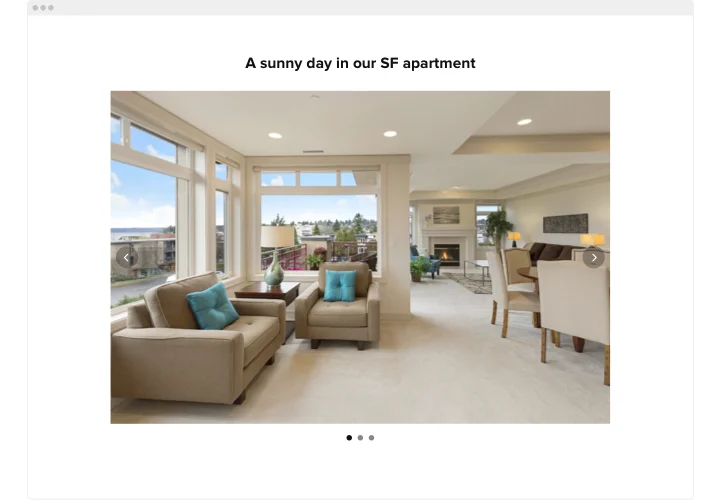
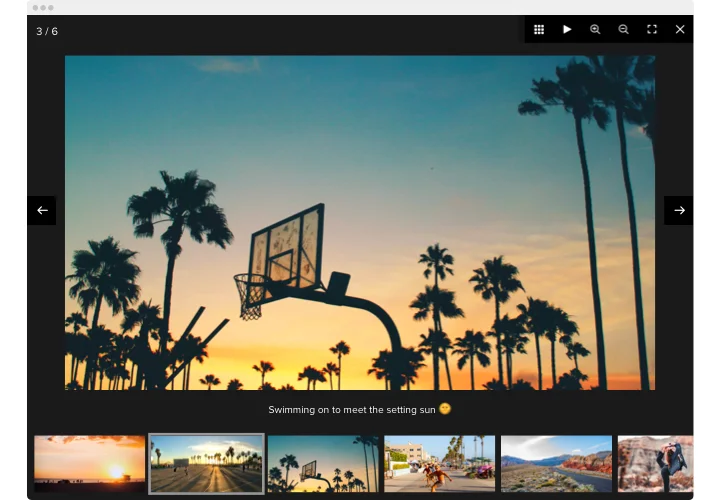

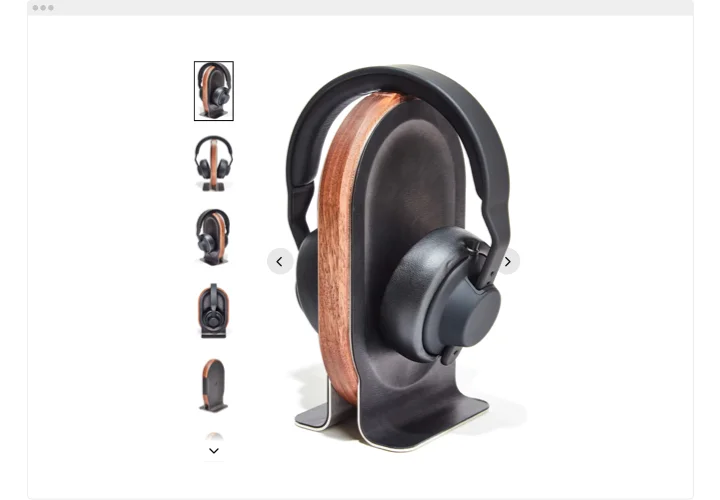
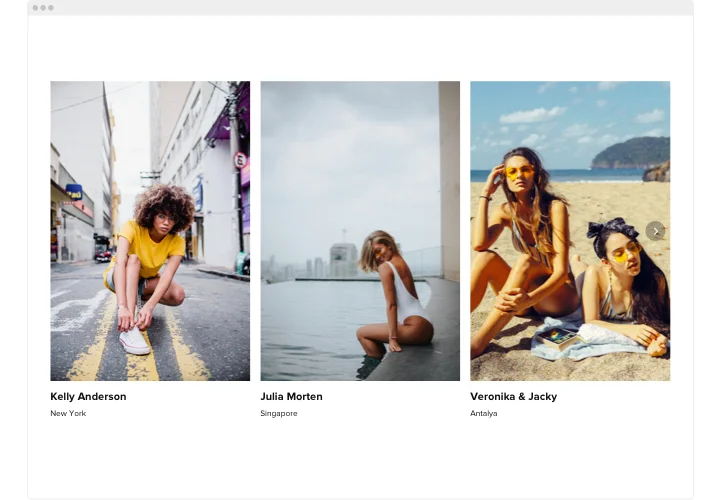
Show your photos on Elementor
Display product photos, event highlights, travel shots or a professional portfolio in an image gallery on your Elementor page.
- Works on free Elementor: add the gallery through the standard HTML element, Elementor Pro is not needed.
- Looks right on every screen: the gallery adapts to phones and tablets.
- Matches your brand: adjust colors, spacing and fonts in the editor.
Key Features of the Elementor Photo Gallery
Everything you need to show your images on Elementor, set up in the Elfsight editor.
- Various layout options: Choose Carousel, Grid, Vertical Masonry, Horizontal Masonry, Thumbnails, Slider or Panoramic so your images appear exactly the way you want.
- Photo categories: Organize your photos into categories.
- Lightbox, hover effects and captions: Open images in a lightbox pop-up, add hover effects and show captions to make browsing engaging.
- Colors, spacing and fonts: Adjust colors, spacing and fonts to match your brand.
- Responsive on phones and tablets: The gallery adapts to phones and tablets.
- Drag-and-drop order and image links: Reorder images with drag and drop, and link each image to an internal page, a product or an external URL.
Try full functionality in the free editor – no signup needed.
Works on free Elementor
Elfsight works on free Elementor through the standard HTML element, so you do not need Elementor Pro. The gallery fits any Elementor section, column and template, and one edit in Elfsight updates it on all pages and templates. Custom Code for all pages is only available in Elementor Pro.
How to add the Photo Gallery to Elementor
Create your gallery in the Elfsight editor, then place it on your Elementor page with the HTML element. Use the HTML element, not Custom HTML.
Add the gallery to one page (Elementor Free)
- Create your gallery in the Elfsight editor.
- Click Add to website for free.
- Copy the code.
- In WordPress, go to Pages → Edit with Elementor.
- Find HTML in the widget panel.
- Drag the HTML element into a section.
- Paste the code into the HTML Code field.
- Click Publish.
- Open the published page to check the gallery. If you use a caching plugin, clear the cache.
Add the gallery to all pages (Elementor Free, classic themes)
- Create your gallery in the Elfsight editor, click Add to website for free and copy the code.
- Go to Appearance → Customize → Widgets.
- Open a widget area that appears on every page, for example the footer.
- Click +.
- Choose Custom HTML.
- Paste the code.
- Click Publish.
- Open the published page to check the gallery. If you use a caching plugin, clear the cache.
Need help? Check our Help Center or explore our blog for tips on adding a photo gallery. You can also suggest features in the Wishlist or follow updates in the Changelog.