
Webflow PayPal Button widget
Create your PayPal Button widget
Screenshots

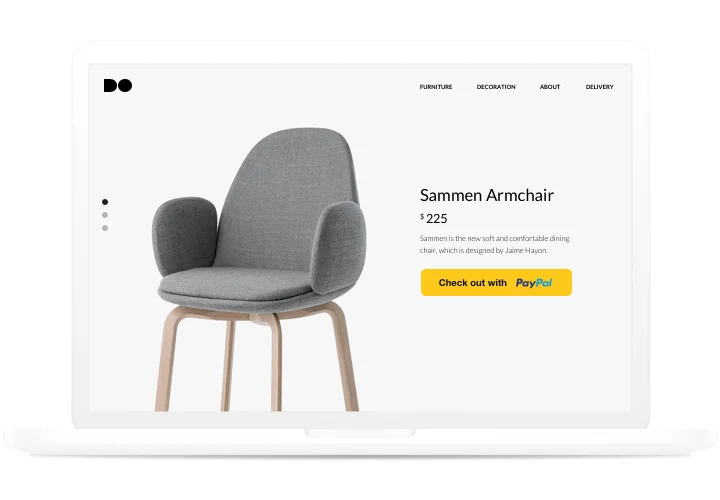

Embed PayPal Button on Webflow with the Elfsight widget
Let visitors pay with PayPal right on your Webflow website. Set up a button for one-time purchases, recurring subscriptions or donations, then add tax and shipping, pick the currency and style the button to match your design.
Selling products or services? Add tax and shipping as fixed amounts or percentages, and both are included in the PayPal checkout total, so shoppers see the full price before they pay.
Collecting donations or subscriptions? Choose the recurring subscription type, or use the Optional donation type so supporters can enter an amount of their own. Localization lets you pick the country and language of your audience.
Main features of the PayPal Button widget
Everything you need to take PayPal payments on your Webflow pages:
- Payment types – set up one-time purchases, recurring subscriptions or donations.
- Tax and shipping – add them as fixed amounts or percentages and show them in the PayPal checkout total.
- Currencies and localization – use multiple currencies and choose the country and language of your audience.
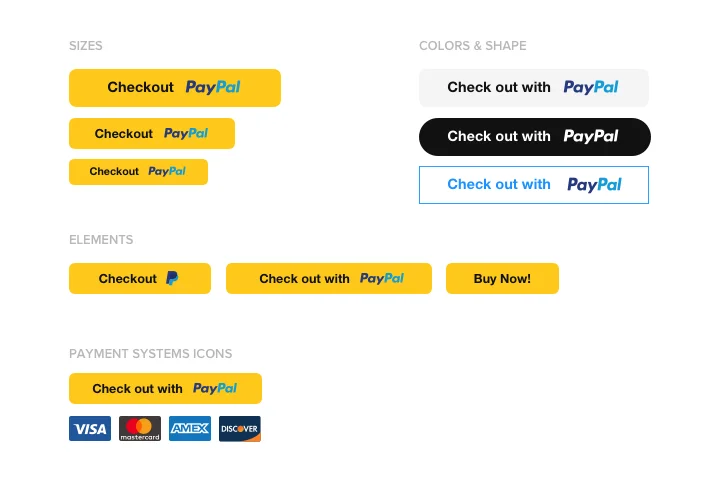
- Button design – customize size, width, shape, colors, borders and radius to match your Webflow design.
- Card icons – show or hide Visa, Mastercard, American Express and Discover under the button.
- Redirect after payment – send buyers to your own thank-you or confirmation page.
- Custom donation amount – the Optional donation type lets visitors enter how much they give.
Try every setting in the free live editor.
Made for Webflow
- Works in CMS Collection templates – add the code to a collection template and the button appears dynamically on every CMS page.
- One component, many pages – turn the Code Embed into a component and reuse it on any page.
- Update without republishing – edits you make in Elfsight show up without republishing your Webflow website.
- Clear preview – Designer shows a placeholder, so check the live button in Preview with custom code enabled or on the published website.
How to Add PayPal Button to Webflow
Set up your PayPal Button in the Elfsight editor first and copy the installation code. Then choose how to place it in Webflow: on one page, on every page, as a reusable component or in a CMS Collection template.
Good to know: external code needs a paid website plan or a paid Workspace plan in Webflow. Webflow Designer shows a placeholder instead of the widget, so check the result in Preview or on the published website.
Method 1: Add the button to one page
- In your Webflow dashboard, click Open in Webflow.
- In the Pages panel, select the page.
- Open the Add panel and drag Code Embed to the place where the button should appear.
- Paste the installation code and click Save & Close.
- Click Publish and choose Publish to Selected Domains.
Method 2: Add the button to every page
- In your Webflow dashboard, open the website settings and go to Settings → Custom Code.
- Paste the installation code into Head Code, not Footer Code.
- Click Save.
- Click Publish and choose Publish to Selected Domains.
Method 3: Reuse the button as a component
- Add a Code Embed to a page and paste the installation code.
- Right-click the Code Embed and select Create component.
- Drag the component from the Components panel to any other page.
- Click Publish.
Method 4: Add the button to a CMS Collection template
- In the Pages panel, open CMS Collection pages and select the collection template.
- Drag Code Embed to the place where the button should appear.
- Paste the installation code and click Save & Close.
- Click Publish.
After publishing, open your webflow.io staging domain, run a test action and check that the record appears in your Elfsight dashboard.