WooCommerce Countdown Timer plugin
Create your Countdown Timer app
Screenshots
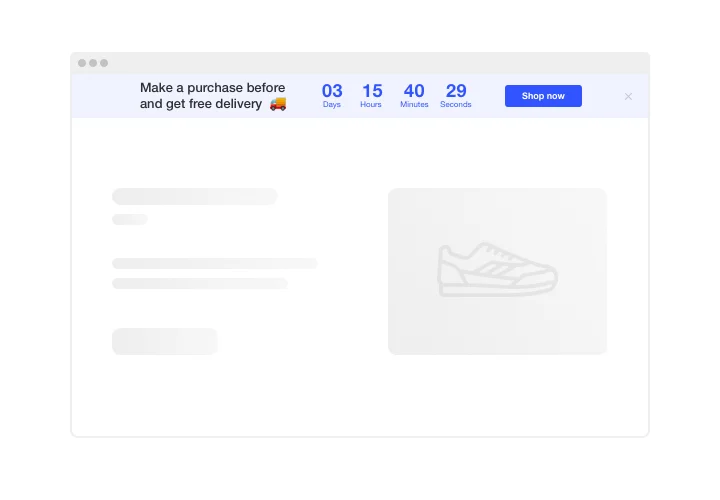
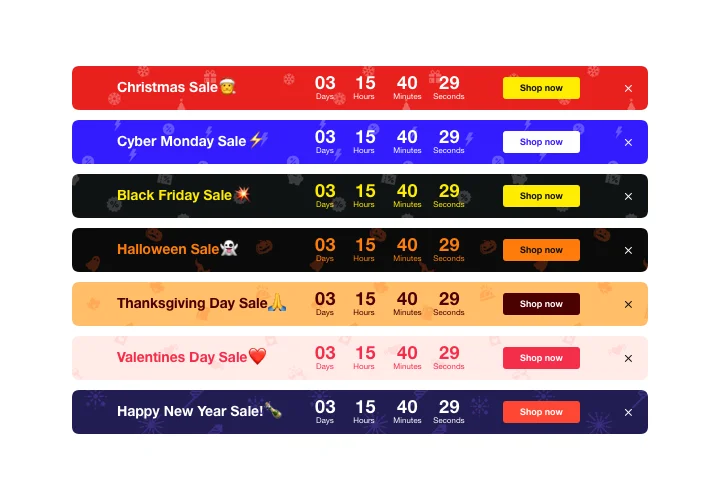


A WooCommerce Countdown for Sales, Events, and Holidays
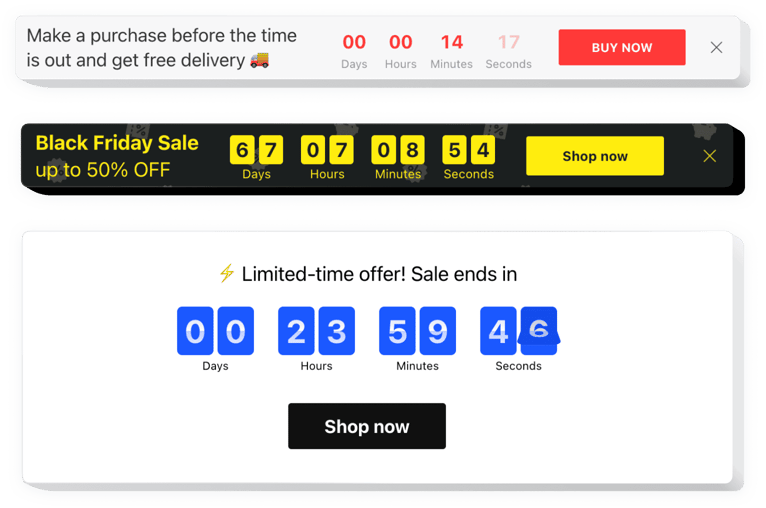
Show a countdown timer on your WooCommerce store to mark the end of a sale, an event, or a holiday. The timer counts up as well as down, so you can show the time left until a special offer ends.
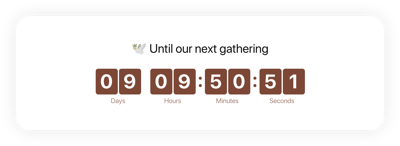
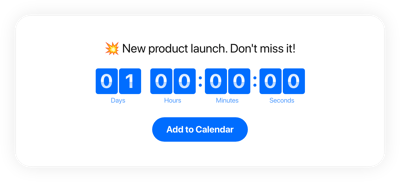
Draw attention to future events and holidays, and keep your customers looking forward to them. Add the Countdown Timer plugin to your store to put your sale and holiday deadlines in front of visitors.
Countdown Timer features
- Counting up and down. Show the time left until an offer ends, or count up.
- Message before the timer. Explain what the countdown is for before visitors see the clock.
- Editable finish message. Change the text that appears when the timer ends.
- Holiday styles. Pick ready-made holiday styles for popular occasions.
- Message font size. Set the font size of the message to fit your store.
- Position. Choose full-width, inline, top bar, bottom bar, static top bar layouts to match where the timer sits.
How to add Countdown Timer to WooCommerce
Create your timer in the editor on this page, copy the code, and add it to your store with one of the methods below.
On a page:
- Go to Pages and click Edit on the page you want.
- Click the blue + and choose Custom HTML.
- Paste the code into the block.
- Click Save, then open the page in a window where you are not logged in to check the timer.
In a product description:
- Go to Products → All Products and click Edit on the product.
- Paste the code into the Product description.
- Click Update, then open the product page in a logged-out window to check the timer.
On every product page (block themes):
- Go to Appearance → Editor → Templates.
- Open the Single Product template.
- Add a Custom HTML block and paste the code into it.
- Click Save, then check a product page on your store.
On all pages of your store, floating timer (classic themes), via Theme File Editor:
- Go to Appearance → Theme File Editor.
- Choose Theme Footer (footer.php) in the Theme Files list.
- Paste the code before the closing </body> tag.
- Click Update File.
On all pages of your store, floating timer (classic themes), via Customize:
- Go to Appearance → Customize.
- Select Widgets.
- Click the blue + and choose Custom HTML.
- Paste the code into the HTML field.
- Click Publish.
The two all-pages methods work best for floating timers.
On WordPress.com, the widget code works only on the Business or Commerce plan; on the Free, Personal and Premium plans it shows as plain text.
If the timer does not appear, clear the cache of your caching plugin.
Add a sales countdown timer to a WooCommerce product page
Show the timer where shoppers decide to buy. For one product, go to Products → All Products → Edit and paste the code into the Product description. To cover every product page in a block theme, add it to the Single Product template through Appearance → Editor → Templates. For a store-wide offer, use a floating timer that stays on every page of your store.
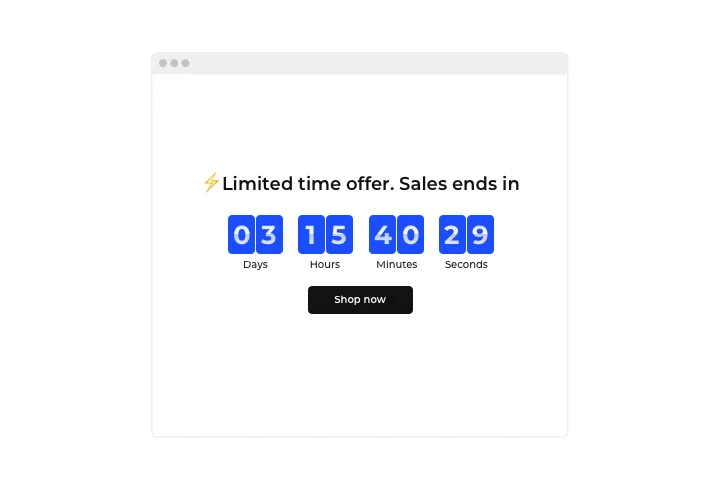
Set the timer to count down to the end of your sale, and use the message before the timer to say what the offer is. For seasonal sales, pick one of the ready-made holiday styles.
Can I add the WooCommerce Countdown Timer plugin to a page?
Can I add the timer to a product description?
How do I show the timer on every product page?
Can I show the timer on every page of my store?
Does the timer work on WordPress.com?
Why does the timer not appear after installation?
Can the timer count up as well as down?
Can I show a message before the timer?
Can I edit the message shown when the timer ends?
Are there holiday styles?
Which layouts can I use?
Can I change the message font size?
Can I use the timer to announce events and holidays?
Is there a free plan for the WooCommerce timer plugin?
Countdown Timer Template Catalog