
Magento Contact Form extension
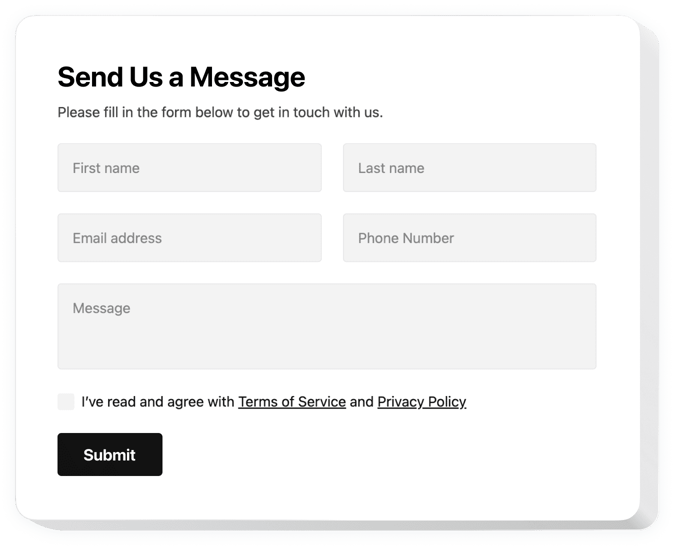
Create your Contact Form extension
Screenshots
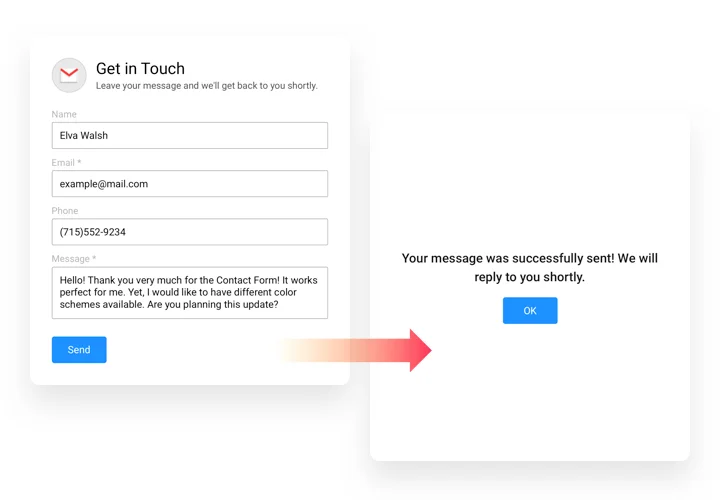
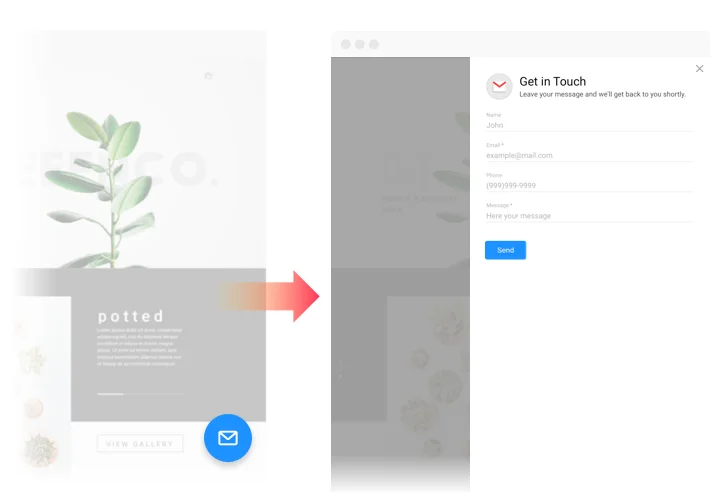
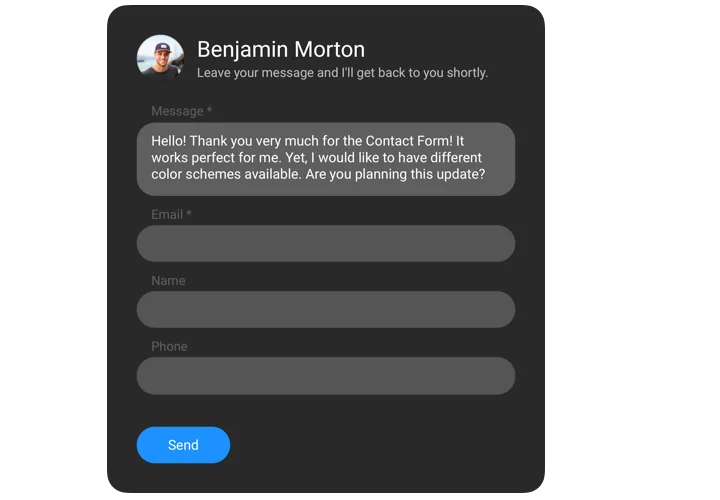
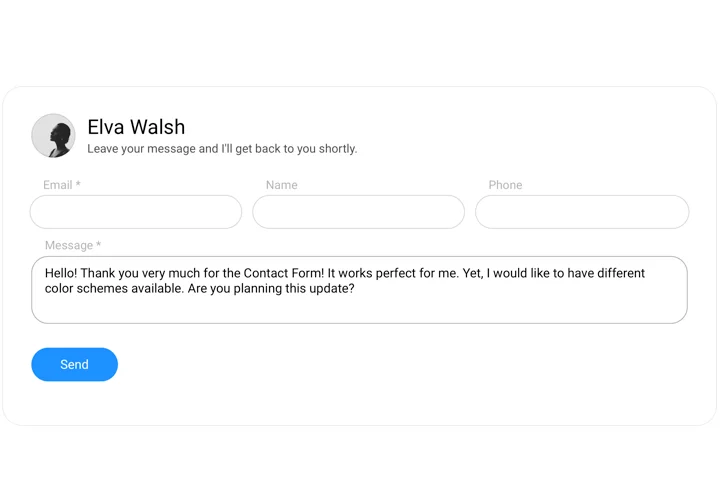
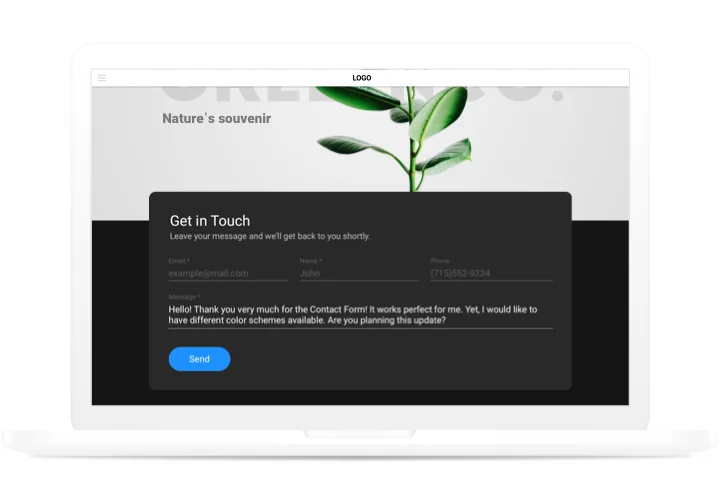
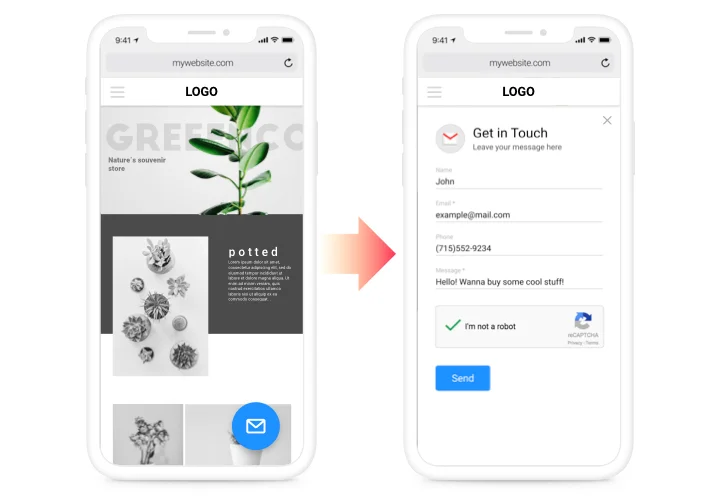
Why use Elfsight contact forms on Magento
Add a contact form to your store without a Magento module: no composer, no setup:upgrade and no deployment. You paste the code through standard Admin tools – the HTML Code element in Page Builder, a CMS block or Design Configuration.
The form loads from Elfsight servers, so there is no module whose compatibility you have to check at Magento updates. Change fields or texts in the Elfsight editor and the form on your storefront updates without changing anything in Magento. Running several store views? The same code can be installed on all of them.
Key features of the Magento Contact Form extension
Everything your customers need to reach you, in one form:
- Spam protection – Google reCAPTCHA helps protect your form and inbox from spam and bots.
- Flexible layouts – place the form inline on a page or show it as a floating button.
- Your own wording – customize field labels, placeholders and the Submit button text.
- Customizable fields – add dropdowns, checkboxes, date pickers and other fields, reorder them and mark essential details as required.
- Email notifications – notify your team when a customer submits the form.
- Automatic replies – send customers a personalized confirmation email after submission.
- Custom thank-you message – confirm submission and explain what happens next.
- App integrations – connect Mailchimp, Google Sheets or Zapier to send submissions to your existing tools.
- Submission management – review and manage responses in your Elfsight dashboard.
- Flexible appearance – choose a style template and adjust colors to match your store.
- Mobile-friendly – the form adapts to mobile screens.
Curious how it feels? Try all the features for free in our live editor.
Made for Magento
- No module to install – the code goes in through standard Admin tools, with no composer, setup:upgrade or deployment.
- No compatibility checks – the widget loads from Elfsight servers, so there is no module to re-check when Magento updates.
- Update without reopening Magento – change the form in the Elfsight editor and the storefront form updates automatically.
- Different forms for different store views – set separate widgets per store view, or install the same code on all of them.
- One block for many pages – a single CMS block added through Content → Widgets can show the form on all product pages, categories or all pages.
How to add Contact Form to Magento
Build your form in the free Elfsight editor first, then copy the installation code. Choose the layout before you copy it: floating for all pages, embed (static) for content inside a page.
Good to know: Page Builder is available in Adobe Commerce from 2.3.1 and in Magento Open Source from 2.4.3. After you change blocks or widgets, refresh the cache in System → Tools → Cache Management so visitors see the form.
Method 1: Add the form to a CMS page with Page Builder
- In Magento Admin, go to Content → Pages.
- Click Select next to the page and choose Edit.
- Expand the Content section.
- In Page Builder, open Elements and drag HTML Code onto the page.
- Paste the installation code into the HTML Code element.
- Click Save, then save the page.
- If Magento shows a cache message, refresh the cache in System → Tools → Cache Management, then open the page on your storefront to check the form.
Method 2: Add the form to a CMS page without Page Builder
- In Magento Admin, go to Content → Pages.
- Click Select next to the page and choose Edit.
- Expand the Content section and click Show / Hide Editor to switch the editor to HTML.
- Paste the installation code where the form should appear.
- Click Save.
- Refresh the cache in System → Tools → Cache Management and check the page on your storefront.
Method 3: Show the form on all product pages, categories or all pages
- Go to Content → Blocks and click Add New Block.
- Fill in the block title and identifier, paste the installation code into the block content and click Save.
- Go to Content → Widgets and click Add Widget.
- Set Type to CMS Static Block and click Continue.
- Choose where to display the block: all product pages, categories or all pages.
- Select the block you created in the widget options and click Save.
- Refresh the cache in System → Tools → Cache Management and check the storefront.
Method 4: Add a floating form to every page
- In the Elfsight editor, choose the floating layout and copy the installation code.
- In Magento Admin, go to Content → Design → Configuration and edit the configuration you need.
- Open Other Settings → Footer.
- Paste the installation code into Miscellaneous HTML.
- Click Save Configuration.
- Refresh the cache in System → Tools → Cache Management and check the storefront.
Support team can help you install the widget on your website.